How to Replace a Fascia Board Steps by Steps
The fascia board is an important component of your home’s structure. It is the board that runs along the edge of your roof, and it is responsible for bearing the weight of your gutters. Over time, fascia boards can become worn or damaged, and when this happens, they need to be replaced. In this blog post, we will show you how to replace a fascia board in 5 simple steps. With a few tools and some elbow grease, you can have your fascia board replaced in no time!

What is a fascia board?
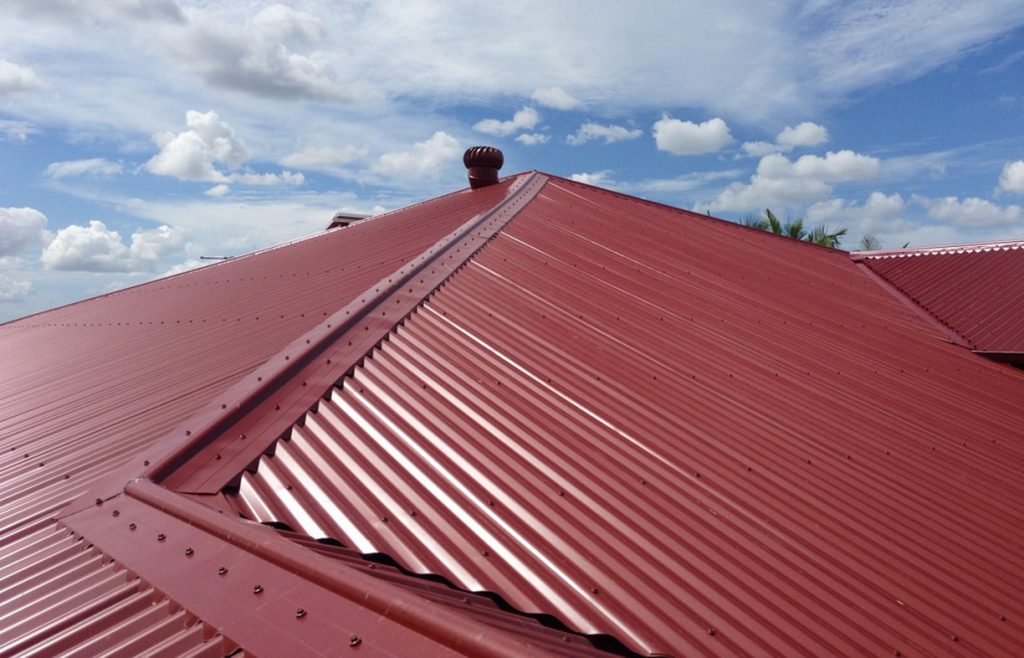
A Fascia board, also called a frieze board, is a horizontal band that runs along the lower edge of a roof. It is an important structural element that supports the weight of the roof tiles and protects the rafters from weather damage. Fascia boards are usually made of wood, but can also be made of plastic or metal.
Signs that your fascia board needs to be replaced
If your fascia board is warped, discoloured, or otherwise damaged, it may be time to replace it. Here are some other signs that your fascia board may need to be replaced:
- There are cracks or holes in the board.
- The board is loose or pulling away from the house.
- Water is leaking through the fascia board.
If you’re not sure whether or not your fascia board needs to be replaced, it’s always best to consult with a professional contractor. They can inspect the damage and advise you on the best course of action.
How to replace a fascia board
- The first step is to remove the old fascia board. This can be done by prying it off with a blunt object or by cutting it away with a saw. Be careful not to damage the underlying structure when removing the old fascia board.
- Once the old fascia board has been removed, measure the opening to determine the size of the new fascia board that will be needed. Cut the new fascia board to size using a saw.
- Install the new fascia board by nailing it into place or screwing it into place. Be sure to use nails or screws that are long enough to penetrate through the thickness of the new fascia board and into the underlying structure for a secure hold.
- Trim away any excess material from around the edges of the new fascia board, if necessary.
Removing the Existing Fascia Board
Removing the old fascia board is a critical first step in replacing your fascia. It’s important to be extra careful when removing the old board, as you don’t want to damage any of the underlying structure. With that said, here are the steps you’ll need to take to remove the old fascia board:
- Begin by using a power drill to remove any screws or nails holding the old fascia board in place.
- Carefully pry the old fascia board away from the house, being mindful not to damage any of the siding or trim.
- Once the old fascia board is removed, take a close look at the condition of the underlying structure. If there is any rot or damage, it will need to be repaired before proceeding with installing the new fascia board.
Measuring and Cutting the Fascia Board
- Measure the length of the old fascia board and add 3 inches to allow for overhang. Cut the new fascia board to this length with a power saw.
- Place the new fascia board on top of the old one and line up the edges. Trace around the old board with a pencil to transfer its outline onto the new one.
- Cut along the traced line with a power saw, making sure to cut through both layers of boards.
- Remove the old fascia board and discard it.
- Fit the new fascia board in place, using nails or screws to secure it to the supporting structure beneath (usually rafters or trusses). Make sure that it is level and even before securing it completely.
Installing the New Board
- Unscrew the old fascia board from the joists using a power drill.
- Measure the new fascia board and cut it to size using a saw.
- Install the new fascia board by screwing it into the joists with a power drill.
- Check that the new fascia board is level and evenly spaced between the joists before screwing it in place.
Conclusion
In this article, we showed you how to replace a fascia board in your home. This is a relatively easy project that most homeowners can do themselves with just a few tools and some patience. If you follow the steps outlined in this article, you should be able to replace your fascia board in no time. Thanks for reading!


